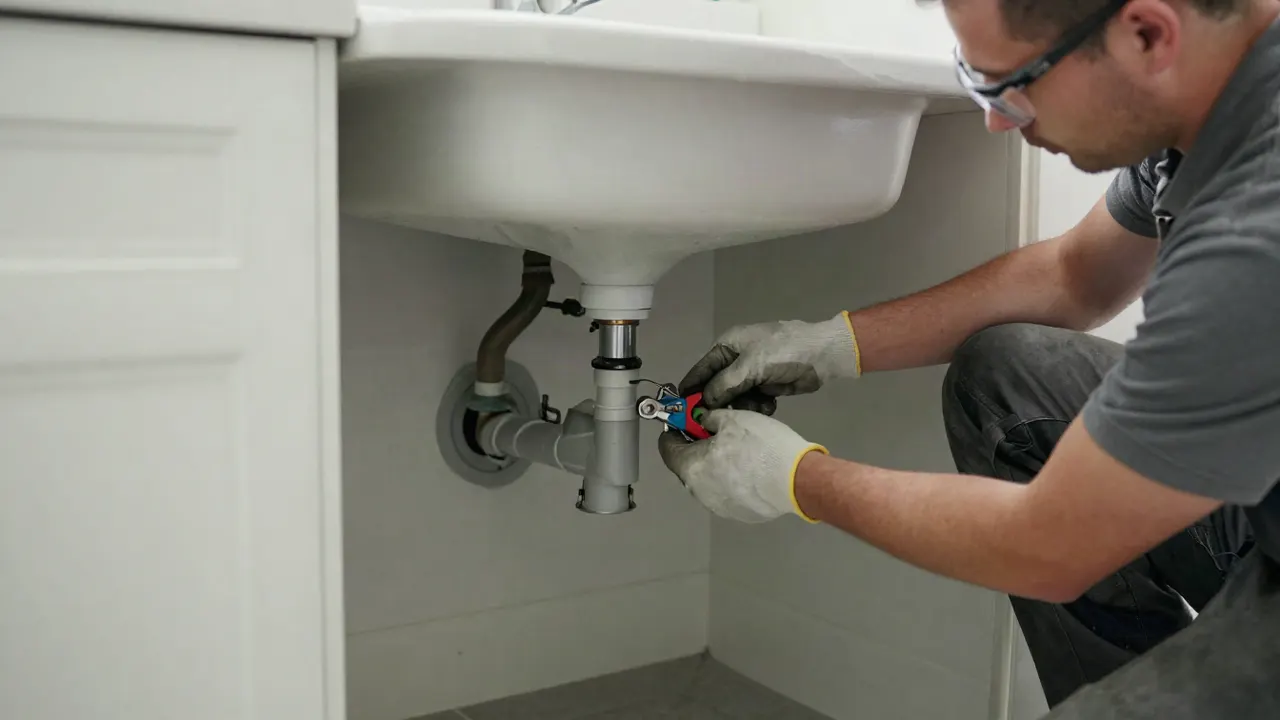
How to fix a leaking shower head in Dixieland
A dripping shower head in Dixieland wastes water and drives up your bill. Here's how to fix it yourself, what causes the leak, and when to call a pro.
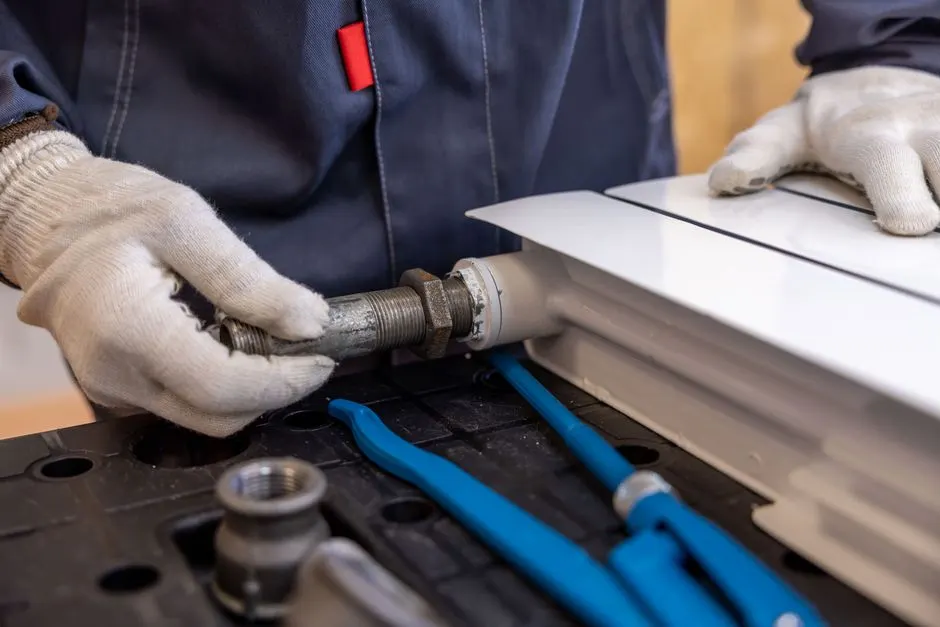
You can fix a leaking shower head in Dixieland by shutting off the water, unscrewing the head from the shower arm, replacing the rubber washer or worn O-ring, wrapping the threads with two to three turns of Teflon tape, and tightening the head back on by hand plus a quarter turn with a wrench. Most drips that come from the joint where the head meets the arm are fixed in under 20 minutes with a $3 roll of tape and a $2 washer. This guide walks through the causes, the exact steps, what parts cost in Lakeland in 2026, and the point where a drip stops being a DIY job and starts being a call to a licensed plumber.
Why your shower head leaks in Dixieland
Shower head leaks in Dixieland, Florida almost always trace back to one of four things: a dried-out rubber washer, a cracked O-ring, mineral scale built up on the threads, or a worn internal cartridge that lets water past the seal even when the handle is off. Dixieland's housing stock leans heavily on mid-century bungalows and 1970s ranch homes, and the plumbing in those houses has seen decades of Lakeland's hard water. That water carries dissolved calcium and magnesium, and it deposits a chalky crust on every threaded connection it touches.
Once that scale works its way into the joint between the shower head and the shower arm, the rubber washer underneath can't seat properly. Water finds the gap. You get a steady drip that runs all night and shows up on your utility bill as a mystery 10 to 20 gallons a day.
The other common cause is simpler: the head was installed hand-tight years ago and has slowly loosened. A quarter turn is often the whole fix.
Leak at the head vs. leak at the arm
Where the water appears tells you what to repair. If the drip comes from the seam where the head screws onto the arm, the problem is the washer or the tape. If water runs down the wall behind the shower arm escutcheon, the leak is at the arm-to-wall connection and you may be looking at a deeper issue inside the wall.
If the head drips only when the shower is off, the cartridge or valve behind the handle is the culprit, not the head itself. That distinction saves you from replacing a part that was never broken.
Tools and parts you need
Everything for a basic shower head leak fix in Dixieland fits in a small bucket, and the parts cost less than a fast-food lunch. Gather these before you start so you're not running to a hardware store on South Florida Avenue mid-repair.
- Adjustable wrench or channel-lock pliers
- Roll of Teflon tape (white is fine; blue or yellow for gas lines is not needed here)
- Replacement rubber washer or O-ring sized to your shower head
- Old toothbrush or small wire brush for cleaning scale
- White vinegar and a plastic bag for soaking mineral buildup
- Bucket or towel to catch residual water
If your shower head is more than 10 years old and the finish is pitted, replacing the whole head is often cheaper than chasing a seal. A basic replacement head runs $15 to $40 at any Lakeland hardware store, and a handheld model with a hose runs $25 to $60.
Step-by-step fix for a leaking shower head
This is the sequence we use on service calls, and it works on nearly every standard shower head. Budget 15 to 30 minutes for the first attempt.
- Shut off the water. For a shower-only valve, the shutoff is usually at the main. In most Dixieland homes the main is at the street or in a utility closet. Turn it clockwise until it stops.
- Open the shower handle to drain pressure and confirm the water is off.
- Unscrew the shower head from the arm by turning counterclockwise. If it's stuck, wrap the arm with a cloth and hold it with one wrench while you turn the head with the other. Do not force the arm itself - you can crack the fitting inside the wall.
- Inspect the washer and O-ring. A flat, cracked, or hardened washer is the leak. Replace it.
- Clean the threads on both the head and the arm with a toothbrush. If you see white crust, soak the head in a 50/50 white vinegar and water solution for 30 minutes, then scrub.
- Wrap the shower arm threads with Teflon tape. Two to three turns clockwise, following the direction the head screws on. More tape is not better - four or more turns can prevent the head from seating.
- Hand-tighten the head onto the arm, then snug it a quarter turn with the wrench. Stop there. Over-tightening splits the washer and recreates the leak.
- Turn the water back on and run the shower for 60 seconds. Check the joint with a dry paper towel. Any moisture means back it off and re-tape.
If the drip continues after a fresh washer and tape, the problem is upstream. That's when we look at the shower arm, the valve, or the cartridge. Our team handles shower repair Lakeland FL calls every week where the homeowner has already done the easy steps and the leak is still there.
When the leak is in the shower arm or valve
A shower arm leak in Downtown Lakeland and the surrounding blocks usually shows up as water staining the ceiling below or a soft spot in the drywall behind the tile. The arm threads into a drop ear elbow inside the wall, and that connection can corrode after 30-plus years of hard water exposure.
Replacing a shower arm is a 30-minute job if the wall is open and a half-day job if it isn't. We cut a small access panel, replace the arm and the drop ear fitting, and patch it back. If the valve body itself is cracked, that's a bigger repair and often the right moment to upgrade to a modern pressure-balance valve, which runs $180 to $450 installed depending on access.
For leaks that aren't visible at the head or arm but are driving up your water bill, we run leak detection Lakeland FL to trace the source before we open any walls. Finding the leak first saves you from tearing out tile you didn't need to touch.
Common mistakes to avoid
The mistakes we see most often on shower head leak calls in Dixieland are all avoidable, and each one costs you either a return trip to the hardware store or a bigger repair down the line.
- Over-tightening the head. A quarter turn past hand-tight is the limit. More than that crushes the washer and cracks plastic threads.
- Wrapping tape the wrong direction. Teflon tape goes on clockwise, matching the threads. Backwards tape peels off as you screw the head on.
- Skipping the washer replacement. Tape alone won't seal a hardened washer. Replace both at the same time.
- Using pipe dope on plastic threads. It works on metal, but many plastic shower heads seal better with tape only.
- Ignoring a drip when the shower is off. That's a valve problem, not a head problem, and it will keep running up your bill until the cartridge is replaced.
- Forcing a stuck arm. If the arm won't budge, stop. Twisting harder can break the fitting inside the wall and turn a $10 fix into a $400 repair.
One more: don't assume a new shower head will fix a leak you haven't diagnosed. We've replaced heads on homes in Dixieland only to find the drip was coming from the valve the whole time. Diagnose first, buy second.
When to call a professional
Call a licensed plumber when the leak continues after you've replaced the washer and re-taped the threads, when water appears on the wall or ceiling below the shower, or when the drip happens with the handle fully off. Those three signs point to the valve, the cartridge, or a pipe inside the wall - none of which are DIY jobs.
We also get called when a homeowner has tried the fix twice and is tired of the drip. That's fine. We don't charge extra for a job you already started. Our technicians carry common cartridges and shower arms on the truck, so most Dixieland shower repairs are done in one visit.
If your home is older and this is the third or fourth plumbing drip in a year, it may be worth looking at the whole system. We offer repiping Lakeland FL for homes where the original galvanized or polybutylene lines are failing piece by piece. One leak is a repair. Four leaks in 18 months is a pattern.
Frequently Asked Questions
How do I fix a leaking shower head in Dixieland Lakeland?
Shut off the water, unscrew the head, replace the rubber washer, wrap the arm threads with two to three turns of Teflon tape, and re-tighten by hand plus a quarter turn. Most Dixieland shower head leaks are fixed in 15 to 30 minutes with under $10 in parts.
Why is my shower head leaking in Dixieland, Florida?
Lakeland's hard water leaves calcium and magnesium scale on the threads, which keeps the washer from sealing. The other common causes are a dried-out O-ring, a loose head, or a worn valve cartridge that lets water through even when the shower is off.
Can I fix a shower head leak myself in Dixieland Lakeland FL?
Yes, if the leak is at the head-to-arm joint. That's a DIY job with basic tools. If water appears behind the wall, on the ceiling below, or drips when the handle is off, call a plumber - those are valve or pipe issues.
What causes shower head leaks in Dixieland, Florida?
Four things, in order of frequency: hardened washers from age, mineral scale on threads, loose connections from years of use, and worn cartridges. Homes built before 1980 in Dixieland see the scale problem most often because of decades of Lakeland water.
How much does shower repair cost in Dixieland Lakeland?
DIY parts run $5 to $15. A professional shower head or arm repair in Dixieland typically runs $95 to $250 in 2026, depending on access and parts. Valve or cartridge replacement runs $180 to $450. We quote the price before we start.
Get help with plumbing in Lakeland
If the drip is still there after a fresh washer and tape, or if you'd rather not crawl behind the wall yourself, we'll take it from here. Lakeland Swancrest Plumbing handles shower head leaks, valve replacements, and full plumbing Lakeland FL service across Dixieland and the rest of the city.
Call us at (863) 445-7111 and we'll get your shower dry.